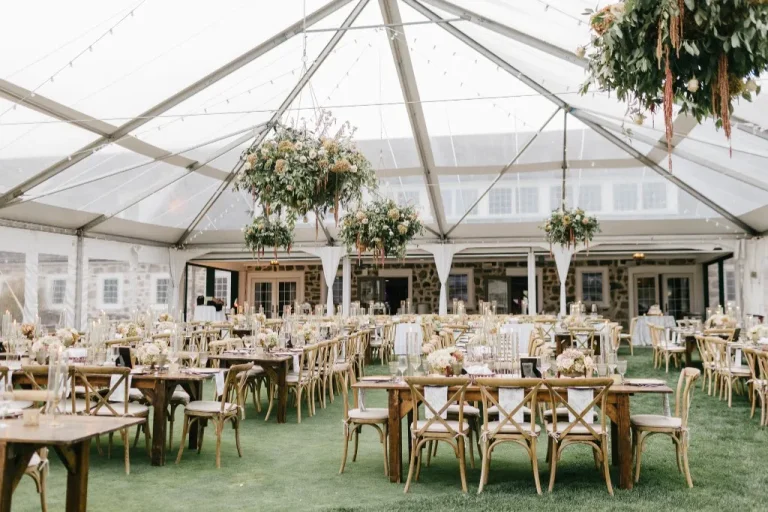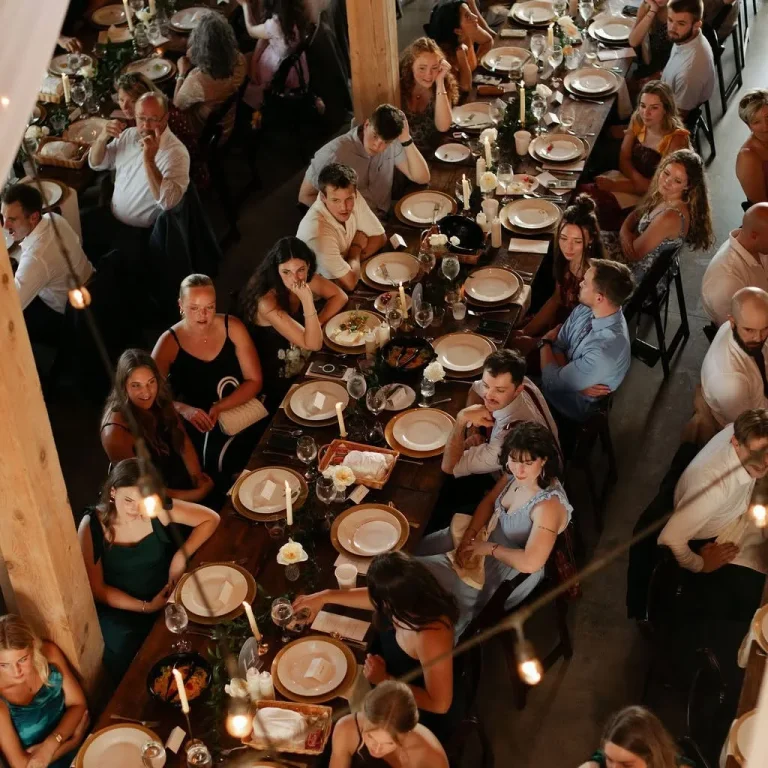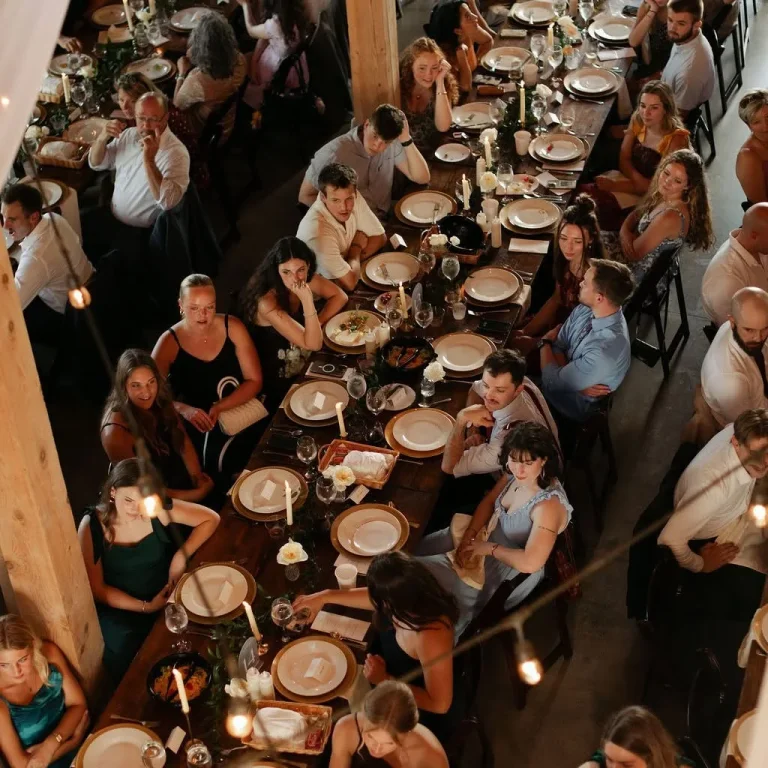
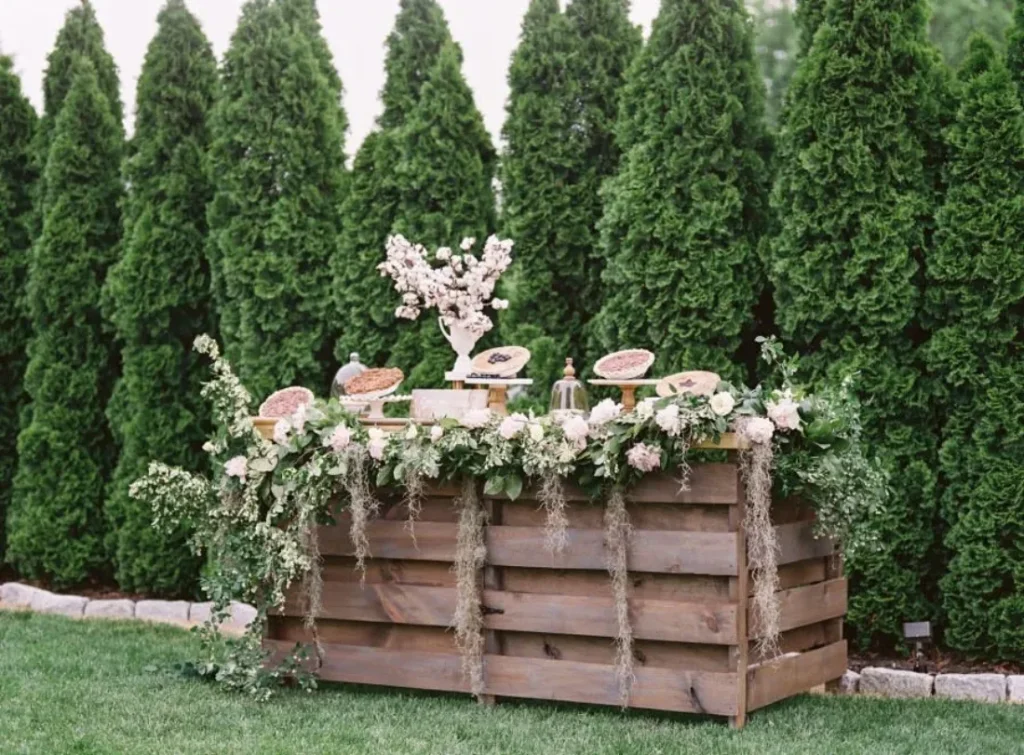
A practical cocktail-hour layout separates three functions: ordering and service at the bar, standing conversation around gathering surfaces, and seated conversation in a lounge area. Treating those functions as separate zones makes it easier to protect guest routes and choose pieces for a clear purpose.
Start with the venue’s approved service location and transition path into dinner. Then compare the bar collection, round and cocktail tables, and lounge furniture. Add draft quantities to one wishlist only after each piece has a place on the plan.
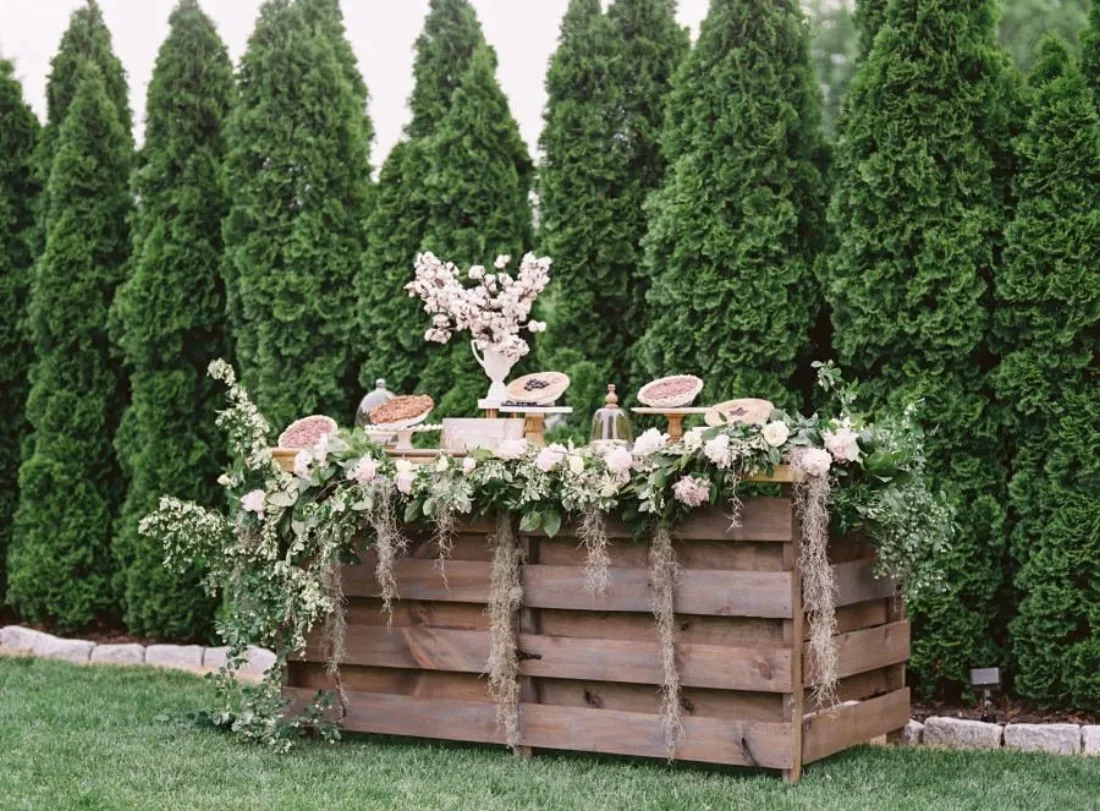
Zone 1: Bar Service and Ordering
Ask the venue or beverage team where the bar may stand, which direction service should face, and what clearance staff need behind it. Keep the guest queue out of the main entrance, restroom route, and transition into the reception. If two lines are expected, mark both rather than assuming guests will organize themselves around a single point.
Clarify which provider supplies glassware, refrigeration, ice, water, linens, waste containers, and service equipment. A rental bar is furniture; it does not imply that every operational component pictured in inspiration is included.
Zone 2: Standing Conversation
Bar-height gathering tables and whiskey barrels give standing guests a place for a drink or small plate away from the ordering line. Distribute these surfaces along natural conversation areas instead of forming a second obstacle beside the bar.
There is no universal quantity formula. The right count depends on the guest list, the duration of cocktail hour, whether other seating is available, and the dimensions of the space. Begin with the floor plan, place a small number of standing surfaces, and check the remaining route widths with the venue or planner.
Zone 3: Lounge Seating
For a conversational grouping, consider pairing the main seating with chairs and a coffee or side table. Pillows can add color or texture, but they should be selected and counted separately.
Keep the lounge visible enough to be found without placing it in the highest-traffic corridor. Confirm the floor surface and access plan, especially when the area is outdoors or separated from the main reception room.
Connect the Zones Without Blurring Them
Trace the guest journey from ceremony or arrival to the bar, conversation areas, and dinner entrance. A guest should be able to bypass the bar line, reach a seat, and enter the reception without cutting through staff workspace. The planner, venue, and caterer should review the same path.
Use visual boundaries when the room is large: a lounge grouping, line of standing tables, or display can help a zone feel intentional. Do not use furniture to block a required aisle or exit.
Coordinate the Transition into Dinner
Decide what stays in place after cocktail hour. Some lounge furniture may continue serving guests during the reception, while temporary standing surfaces might need to remain clear of later activity. Confirm whether any move is permitted, who is responsible, and when it can happen.
If the bar also serves the reception, evaluate the dinner-time line separately. Guest flow changes after seating opens, and a location that works for a short cocktail period may interact differently with the dance floor or dining rows.
Build the Cocktail-Hour Wishlist
- Select the service bar only after its approved location is known.
- Add standing tables or barrels for conversation areas, not for the ordering queue.
- Build each lounge as a complete seating group with a practical table.
- List pillows and small finishing pieces separately.
- Include the venue address, date, guest count, and open layout questions.
Browse the broader cocktail-hour collection for related pieces, then send the wishlist for pricing, availability, delivery, and setup confirmation. The final plan remains specific to the event date and location.